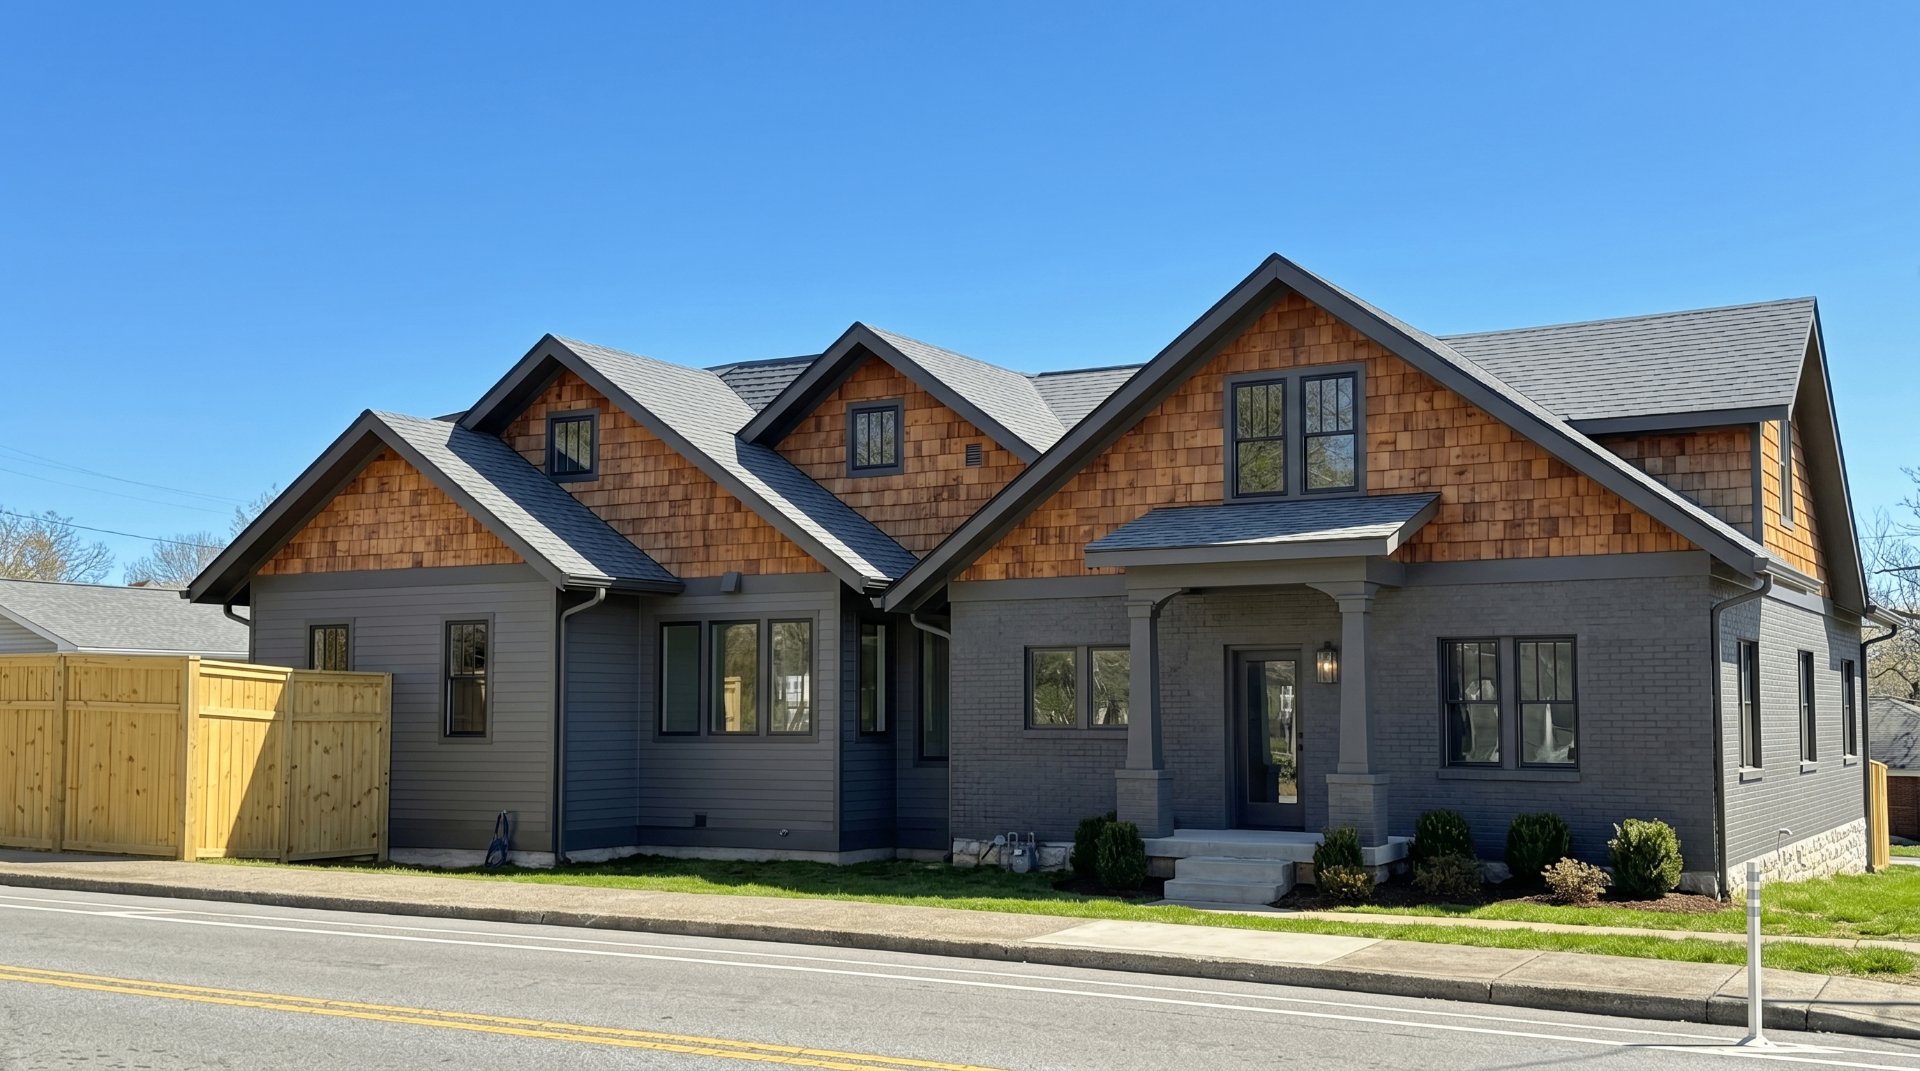
Why Cedar Shingles Are Ideal for Shed Siding
Pressure-treated pine and fiber cement both require maintenance and painting. Cedar doesn't. Left natural, Western Red Cedar weathers to a handsome silver-gray and continues to resist moisture and insects for decades. At the #3/#4 undercourse grade price point, it's one of the most affordable natural siding options available — and unlike vinyl, it actually looks better as it ages.
How Much Cedar Do You Need?
Measure the perimeter of your shed and multiply by wall height to get total square footage. Subtract windows and doors. Add 15% for waste and cuts. One bundle of Western Red Cedar Shingles (Lowe's Item #3976) covers approximately 15 square feet at a 7.5 inch exposure. Divide the wall area by 15, add 10% for waste, and round up.
Tools Required
- Cedar shingles — Lowe's Item #3976
- Type 304 or 316 stainless-steel ring-shank nails (1.5" or 2")
- Chalk line and level
- Speed square
- Circular saw or miter saw
- Tape measure
- Ladder
- Building paper or house wrap (recommended)
Installing Cedar Shingles on a Shed — Step by Step
Step 1 — Install building paper
Staple a layer of 15 lb. felt paper or house wrap over the shed sheathing from bottom to top, overlapping each course by 6 inches. This is your moisture barrier.
Step 2 — Set your first course double
The bottom course always gets doubled — two layers of shingles stacked. This kicks the first visible course out at the correct angle and seals the bottom edge.
Step 3 — Establish exposure and snap lines
Standard exposure for these shingles is 7.5 inches. Snap a chalk line every 7.5 inches up the wall. These lines are your guides for each course.
Step 4 — Nail each course
Place shingles 1/8" apart along the chalk line. Drive two corrosion-resistant nails per shingle, 1" above the exposure line. Never nail below the line — you'll split the course below.
Step 5 — Stagger joints
Offset each course so vertical seams never line up over two consecutive courses. Minimum 1.5" offset. This is structural as well as aesthetic.
Step 6 — Handle corners
For outside corners, alternate which side overlaps — shingle A overlaps B on the first course, B overlaps A on the second. This creates a woven corner that sheds water cleanly. Or use corner boards for a cleaner finished look.
Step 7 — Finish and seal
Cedar can be left raw to weather naturally, stained, or sealed with a clear cedar oil. Do not paint — it traps moisture and defeats the purpose of natural cedar.
Cedar Shed Siding Ideas
Natural silver-gray weathered finish — low maintenance, classic look. Red cedar stain to preserve the warm tone. White-washed cedar for a Scandinavian farmhouse feel. Mix shingle widths for a hand-split texture. Pair cedar siding with black trim and a metal roof for a modern barn aesthetic.
Where to Buy
Western Red Cedar Shingles are available exclusively at Lowe's in-store — Item #3976. One trip, ready to install.